POSTS
Fog of War In Godot

Simple “Fog of War” Shader
Outline
To create a “fog of war” effect, you need to know the trail the player has taken. In order to store that trail we’ll use an option on Godot’s ViewPort: Render Target > ClearMode. Setting Clearmode to Never makes the Viewport never erase what it has drawn. This can be used as the trail the player made through the game world. We’ll use the render from this Viewport as a mask for a shader.
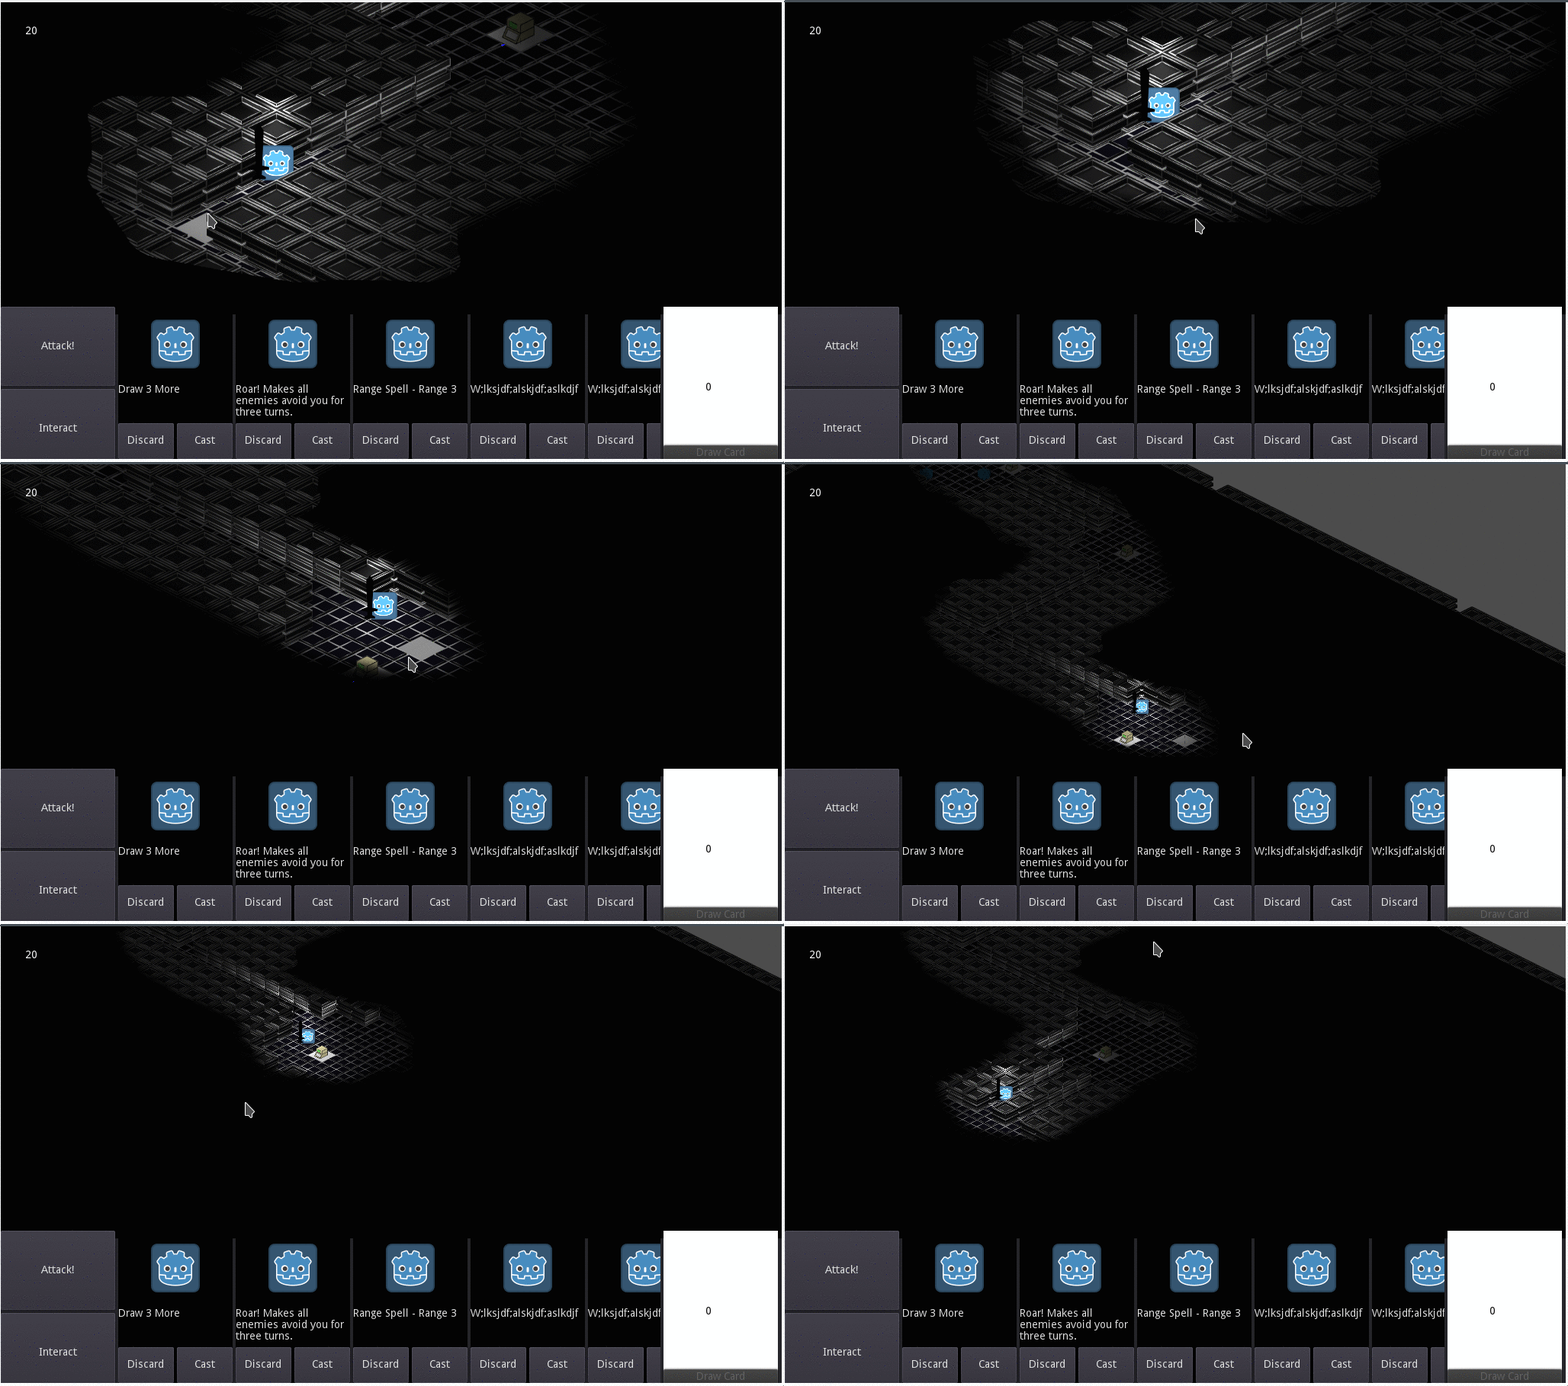
In the future I’ll make a post on how to get this effect working in an Isometric game.
Creating the shader
Create a new scene and give it the following structure:
| Node2D
----| Viewport
------| Sprite
------| Camera2D
--| TextureRect
The Sprite is what will be used to draw our path through the fog. In order to demonstrate the effect, we’ll add some code to move the Sprite:
extends Sprite

export var speed = 10

var move = Vector2(speed, 0)
# Called when the node enters the scene tree for the first time.
func _ready():
	get_viewport().render_target_clear_mode = get_viewport().CLEAR_MODE_NEVER

func _process(delta):
	if position.x > 800:
		move = Vector2(-speed, 0)
	elif position.x < 40:
		move = Vector2(speed, 0)
	self.position += move
Prepare the Viewport by adjusting these settings:
- RenderTarget > V Flip:
On - RenderTarget > ClearMode >
Never - RenderTarget > Update mode >
Always
Prepare the TextureRect:
Add a blank image: Texture > New Image Texture and then edit the image and give it a size of 500x500
Add a material: Material > New Shader Material
Add a shader to the material: Shader > New Shader
Click the shader and then hit “Open Editor”
Creating the shader
shader_type canvas_item;

uniform sampler2D viewport;

void fragment() {
	vec3 c = texture(viewport, UV).rgb;
	c=vec3(1.0)-c;
	COLOR = vec4(0.0,0.0, 0.0, c.r);
}
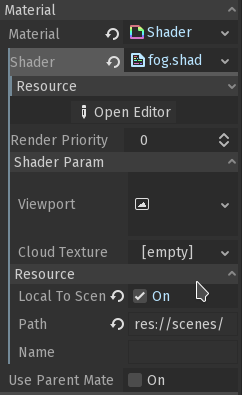
uniform sampler2D viewport will be the rendered texture from the Viewport. The value of each pixel drawn by the Viewport is read by the shader and it renders it into the TextureRect. If the value is Black (1.0) it makes that pixel opaque. If it is white it makes that pixel transparent. To pass a ViewportTexture as an argument to the shader, use the inspector and find the ShaderParams section. To add a ViewportTexture the resource needs to be set to Local to scene. You can find the option to set the resource as local in the resource dropdown of the Shader. Expand the shader param dropdown and click where it says [empty] in the viewport row. Select new VeiwportTexture and click the Viewport.

When you play the scene now, you should see a wipe effect.
Following the player
It’s fairly easy to get this working for a top down 2D game. The steps you will need to take are the following:
- Create a new scene and add your player character and TileMap
- Figure out how big the play area for your game is, stretch the
TextureRectacross it. You can useTileMap.get_used_rect()to figure out the size of your map - Instance the previous scene we created:
| Node2D
----| Viewport
------| Sprite
------| Camera2D
--| TextureRect # This is no longer necessary!
- And finally, move the instanced scene’s Sprite with the player
Example repository (Isometric)
Note that getting the size of the TextureRect is a little more complicated for an Isometric game.
To be continued
I’d like to cover in more detail how to get this effect working for an Isometric game. It’s not trivial to stretch a TextureRect over the size of an Isometric tilemap because of how the map is transformed.